This article appeared in May issue of Terrascape, a travel magazine for which I am an editorial consultant and also write a column on photography. Read all the earlier earlier travel photography articles on India Travel Blog.
Coming across some works from the masters, you might have wondered how black and white images make an impression stronger than colour photographs. Made well, black and white images can effectively tell a story and evocatively convey moods not seen in colour images. However, not every subject may be suitable for capturing in black and white. Here is a guide to decide when to go for making greyscale images instead of colour and how to make an image that leaves a lasting impression.
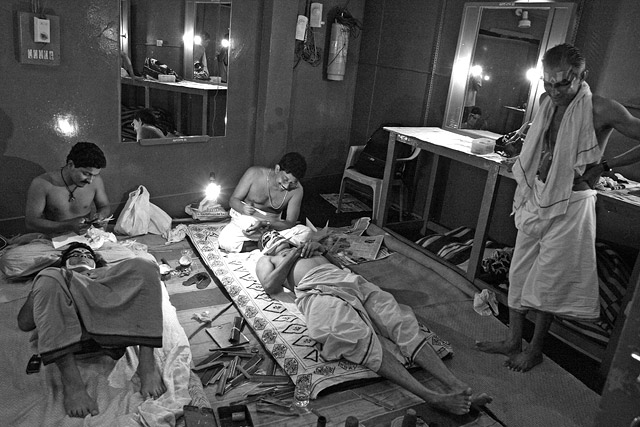
Choosing B&W or Colour. Colour images can work very well in most occasions. This is especially true in case of beautiful landscapes, outdoor nature and man-made subjects where colour is an important factor in making an image. A brightly painted truck with plenty of artwork may not be a great subject for creating black and white image. So is golden light of the evening sun on a mountain. Choose to go for black and white when colour in the subject itself is not important, but you are trying to convey a mood, a story or an action related to your subject. In such images, splash of colours can be counterproductive as they can take away the attention of the viewers. A good example is a portrait of an elderly person, where you are trying to highlight the wrinkles on his face but you are not very interested in the colours of his clothes or headgear.
Choice of Subjects. Black and Whites work well in photographing portraits of people, people at work and in documenting an action or a process. It would also work well in relatively darker environments where colours can’t be highlighted, high-contrast situations and in places that have an old-world feeling. A roadside chai shop, construction work or industrial activities, bustling markets in narrow lanes are some good examples. Landscapes, open spaces with boulder-strewn stretches can become good B&W subjects if you are shooting them in the middle of the day when strong sun creates a high contrast.
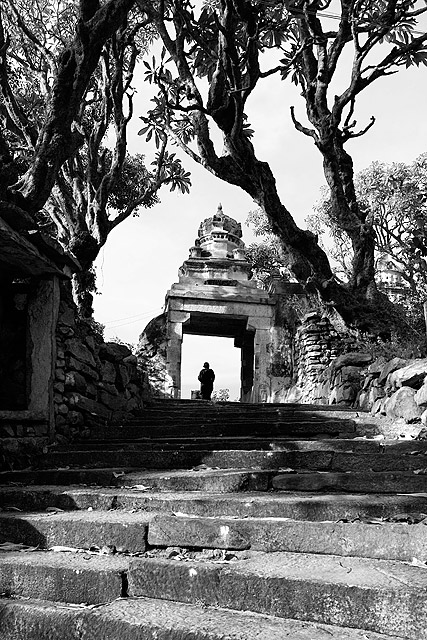
Processing for B&W. A decade ago, processing black and white images was a dark room activity which required some specialization and understanding the process of working with several chemicals in right proportion. Fortunately, it is much easier today. While converting to greyscale or desaturating the image in your computer is the simplest way to convert an image to B&W, this normally creates an unappealing low-contrast image. Use more advanced processing techniques such as ‘Channel Mixer’ in Adobe Photoshop, where you have a greater control in deciding how the final image should appear. In most cases, it helps to increase the contrast to a very high level before converting the image to B&W.
This article appeared in April issue of Terrascape, a travel magazine for which I am an editorial consultant and also write a column on photography. Read all the earlier earlier travel photography articles on India Travel Blog.
Light plays an important role in photographing any subjects, be it outdoor or indoor. While one has to wait for the right time to get good light when shooting outdoors, the importance of quality of light has resulted in creation thousands of commercially available lighting equipment for indoor photography. In this edition of photography tips, let’s look at understanding how different type of lighting affects the quality of an image. Each type of light has its own advantages and disadvantages. Photographers must carefully assess the subject and the lighting before taking a picture.
Harsh and direct light. This type of lighting usually occurs during mid-day, when the sun is strong. Harsh, direct light creates strong shadows. Since the difference in brightness between directly lit areas and shadows are very high, most cameras will not be able to capture the details in both parts of the frame. This often results in areas in the shadow becoming very dark, or the lit areas becoming excessively bright.
Harsh lighting
Diffused light. Diffused light occurs on overcast days when the sun is hidden by clouds. This allows uniform lighting all around the subject, since sun rays do not hit the subject directly. Impact of shadow is minimal or does not exist. Colours get recorded with greater fidelity in such lighting. However, lack of contrast also means that the depth in the subject will not be apparent in the two-dimensional image.
Foggy days are an extreme case of diffused light, in which you don’t see much of the details on the object’s surface. Such light is useful when the subject has interesting contours.
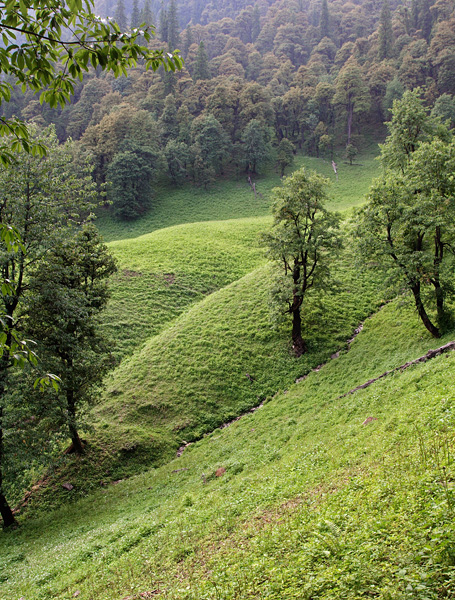
Diffused light on an overcast day. Notice how the tree at the center of the image barely casts a shadow.
Backlight. Backlighting occurs when the subject lies between the camera and the light source. As the light falls on the surface of the subject that is not facing the camera, the camera sees the shadow of the subject and not the details. The background, where the light source is, will be much brighter than the subject itself. Such lighting creates silhouettes and the details in the subject will not be visible. This is not a suitable lighting condition in most cases, unless the contour or shape of the subject is more important than the details in the subject.
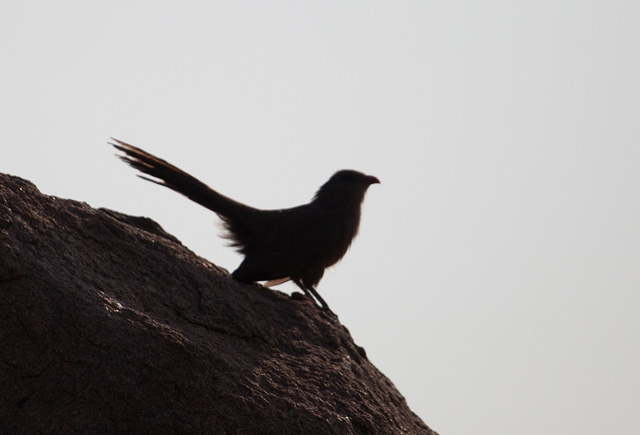
backlight produces silhouettes.
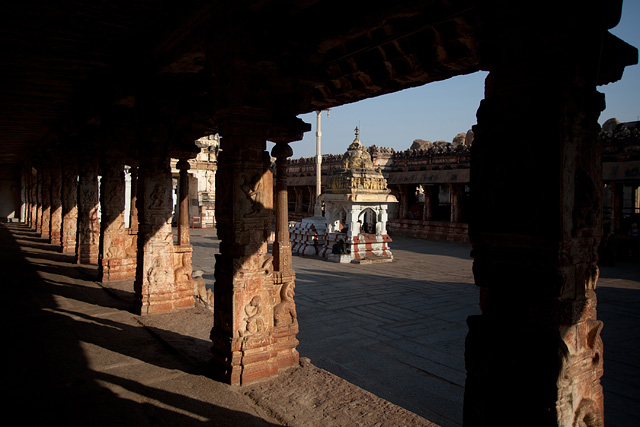
Sidelight. This is a lighting situation in which the light incident on the subject is perpendicular to the axis of the camera lens. In outdoor conditions, this happens in morning and evening hours, when the intensity of light is also not harsh. Side-lit objects have more brightness on one side and fades gently on the opposite side. This usually creates variation in lighting the subject, which helps show its depth. In case of morning and evening sun, the quality of light is also soft, which casts gentle shadows unlike the harsh afternoon light.
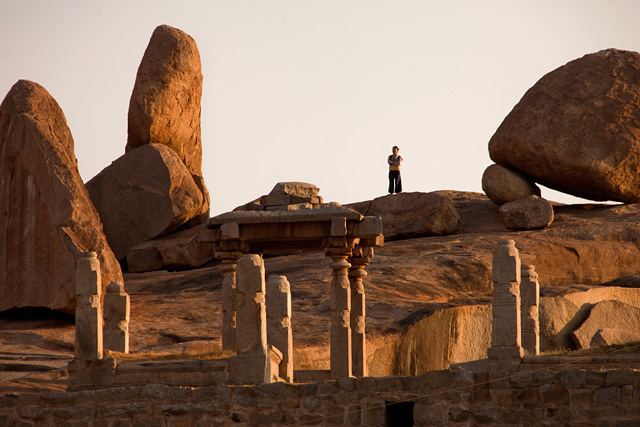
sidelight is apparent here in the pillars as well as the boulders.
Multiple light sources. Using multiple light sources help in eliminating some problems occurring with just one light. For example, afternoon light tends to cause dark shadows around the eyes (as the eyes are located in a depression), which can be countered using a flash light incident on the person’s face. While studios use a variety of light sources together to achieve desirable effects, this can be used with limited capability for subjects close to the camera when shooting outdoor.
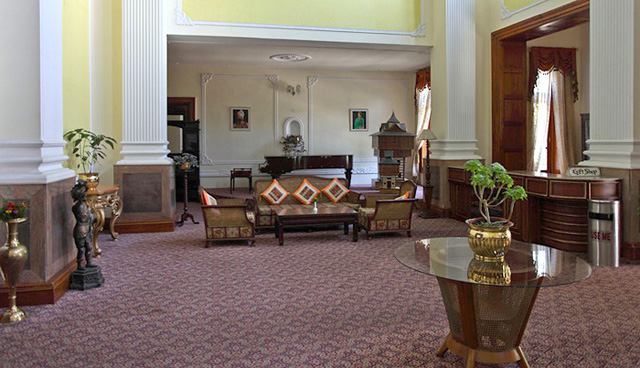
Complex subjects like this require multiple light sources to ensure that no part of the frame is excessively bright or dark.
This article appeared in March issue of Terrascape, a travel magazine for which I am an editorial consultant and also write a column on photography. Read all the earlier earlier travel photography articles on India Travel Blog.
Monuments, heritage sites and artworks can be tricky subjects to photograph. Although the subjects can be beautiful in itself and it may not take much effort to make them look good (Taj Mahal, for instance), photographers often commit the mistake of merely reproducing the work of art. A simple photograph of a mural becomes just a replica of the original work of art even if it is looking good, where the photographer is not really adding any value. Unless great care is taken, picture of a sculpture or a monument may end up becoming a two dimensional repetition of the subject and may even loose the charm in the original work. The photographer must make an effort to showcase a monument or sculpture from different perspectives. Let’s look at ways to overcome these challenges.
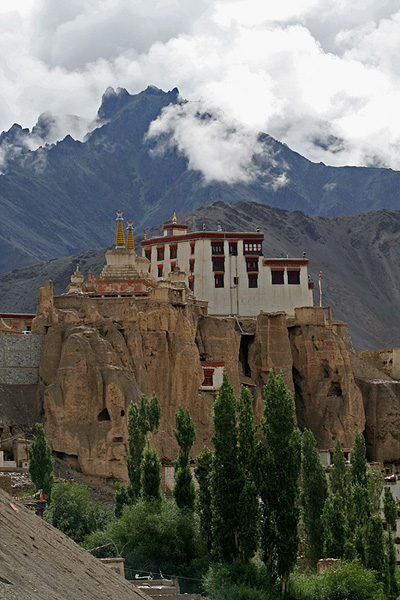
Lighting. When the light falling on an object is incident from a side of the object and not directly from the front or behind the object, it casts shadows at the edges and at the depressions. When the light is directly on the subject, all shadows are eliminated, making it flat and two dimensional in your image. Backlit objects appear dark in the picture. Take photographs at the time of the day when you have sidelight, which helps create the third dimension in your photograph. At the same time, make sure you are not shooting in very harsh light, when shadows cast are very dark and you may not be able to capture details in the shaded areas.
Some monuments managed by Archaeological Survey of India have ‘Sound and Light Shows’ in the evenings. Carry a tripod and photograph them in the colourful floodlights.
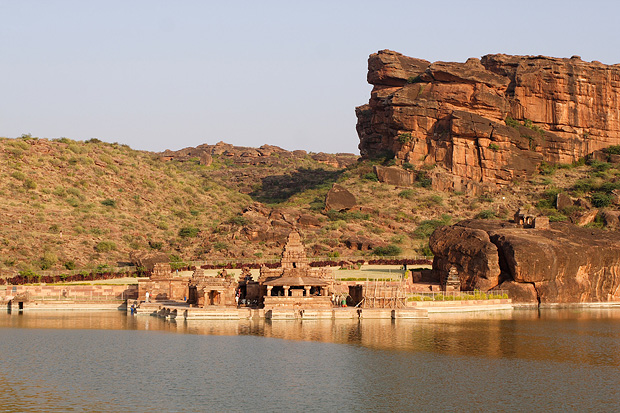
Environment. If the monument is in a dramatic location, include its environment. Take a picture of Taj Mahal with River Yamuna in front of it. Photograph Hampi’s monuments against the boulder strewn landscapes or Mandu’s structures against the water bodies. A good surrounding can enhance the beauty of the monument by manifolds in your photograph.
Variations. A few guidelines that apply in making any subject look good in a photograph can also be applied to photographing monuments. Try to capture multiple perspectives by going around the monument. Shoot in early morning light. Capture not just the details of a monument, but silhouettes as well. Include people in the frame to show scale and infuse some life into the image. Remember that every subject offers endless possibilities in capturing it. Study the subject well; come back in another time of the day or in a different seasons and see variation in the moods of the monument. The variety you will then see in your photograph will surprise you.
Prints of the image available. Request for prints


