This article appeared in February issue of Terrascape, a travel magazine for which I am an editorial consultant and also write a column on photography. Read all the earlier earlier travel photography articles on India Travel Blog.
There is a good chance that you would have seen many brilliant sunrises and sunsets overlooking a beautiful landscape and yearned to freeze the moment with your camera. If you have tried it, you might have also noticed that your images might have turned out very dark, has shake or is not very clear. You might have also experienced similar problems when photographing something indoors where the light is low – it could be just a casual click in your house, a dazzling stage-performance or a party with friends. This month’s photo-tips is about avoiding such problems and taking better images in low-light.
Equipment. Basic cameras normally do not perform well in low-light. Even if they appear to make decent-looking images when you see on LCD, it shows a lot of noise (grains and undesirable colour dots) when you see on a big screen. It helps to have good equipment that can handle low-light. Use a camera that lets you control the aperture and ISO, which play a key role in controlling the quality of your photos in low-light. Mount the camera on a tripod if you are shooting subjects that are not moving. Your ideal choice of equipment will be a digital SLR along with a lens that has a wide aperture to let in more light and also stabilizes hand vibrations. Use a good external flash for indoor use. If you are using an on-camera flash, know that it can light up only a few feet in front of you. It is not much use to use an on-camera flash in a large hall.
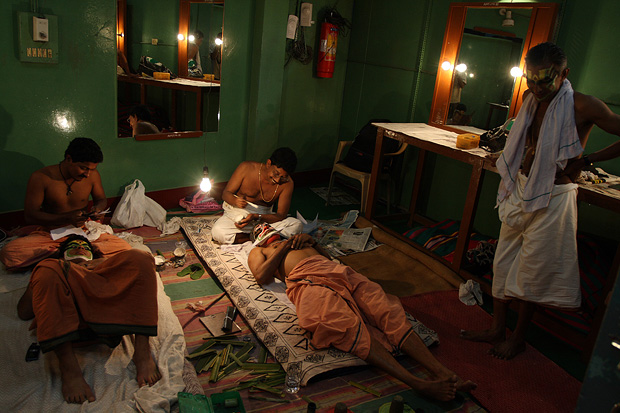
Technical aspects. Besides having good equipment, it is important to understand all the controls that you camera can offer. Know how shutter speeds, aperture and ISO work when you capture an image. Set the aperture wide open and ensure that your shutter speed is not very low. Find out the highest ISO at which your camera makes acceptable images and set it to that value. You are likely to get a shake-free image only if there is enough light to allow shutter speeds faster than 1/60sec. But a stable hand can help you take pictures in lesser speeds.
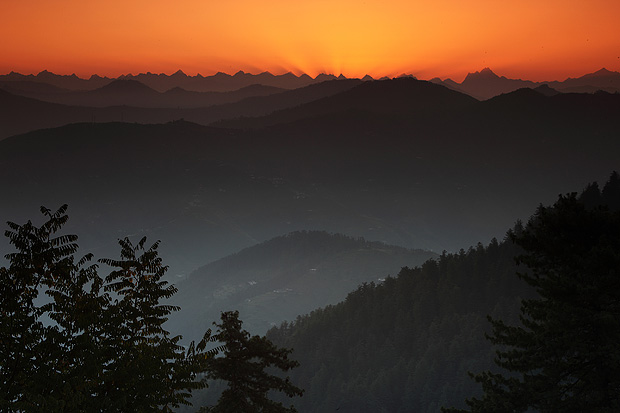
Hold the camera steady. If you are not shooting with a tripod, it is important to learn to hold your camera steady. Your hands shake less if they are close to your body, so use the viewfinder to compose instead of LCD. Breathe in before you shoot, hold your breath and release the shutter. Unless your camera has a very small lens, support the lens with your left hand and grip the camera body with right hand. If the camera supports shooting in burst more, fire a few shots together and pick the one that has least shake.
This article appeared in January issue of Terrascape, a travel magazine for which I am an editorial consultant and also write a column on photography. Read all the earlier earlier travel photography articles on India Travel Blog.
What would you like to see in this column?
I have been posting photography tips on India Travel Blog for a while now and there are about 25 of them here so far. See all of them here. The tips cover a lot of topics on compositions and photographing specific subjects like the waterfalls here. I would love to know what other topics on photography would you like to see covered in the upcoming travel photography articles. Please leave your comments here about the areas where you would like to see some photography tips. Thank you.
Waterfalls are among some of the most charming creations of nature. The force of water falling from a height, the mist generated from the fall and a frothy pond at the bottom form a photogenic spectacle that are worth your and your camera’s attention. If you keep in mind a few technical details, it is also easy to make good-looking images of waterfalls. Let’s see how we do that.
Contorl your shutter speed. The first tip, which is also the most important thing to remember in photographing waterfalls, is technical in nature. If your camera’s shutter opens and closes very quickly, say in just 1/100 seconds, every droplet of falling water appears standing in its place and the impact of the fall is not apparent. A sense of falling movement begins to appear only at speeds below 1/30 seconds, where you may perceive a slight moment in the recorded frame. As your shutter speed gets slower, the appearance of motion becomes more apparent. By taking a picture with shutter speed set between half second to two seconds, the waterfall can be made to appear like a continuous string of water (instead of droplets hanging in the air), giving it a magical appearance. Take the picture with shutter speed set between these values. If you expose longer than two seconds, you may end up getting one thick white bar in the place of the waterfall and its charm is lost.
Many advanced point and shoot cameras and all SLR cameras allow you to set the shutter speed. Consult your camera manual to find out how to make these settings. Also, when you are photographing at such slow shutter speeds, it is difficult to keep your hands perfectly steady. Use a tripod to prevent camera shake.
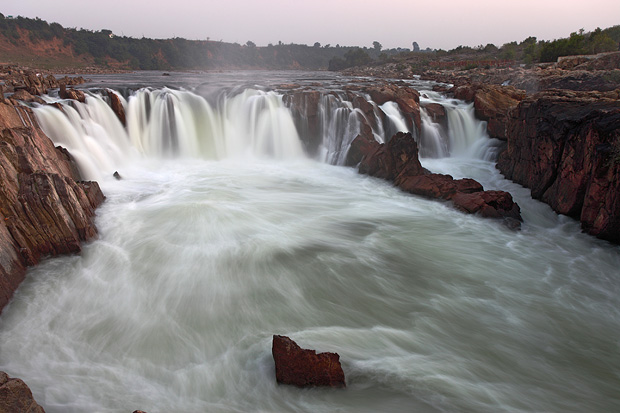
Capture the ambience. Don’t fill your frame with waterfall unless it has some attractive elements like cascades or other interesting patterns. Capture the surroundings of the fall as well. Waterfalls usually are located in green surroundings and the stream tends to have beautiful rounded rocks jutting out from the water. They all come together to enhance the appeal of the fall.
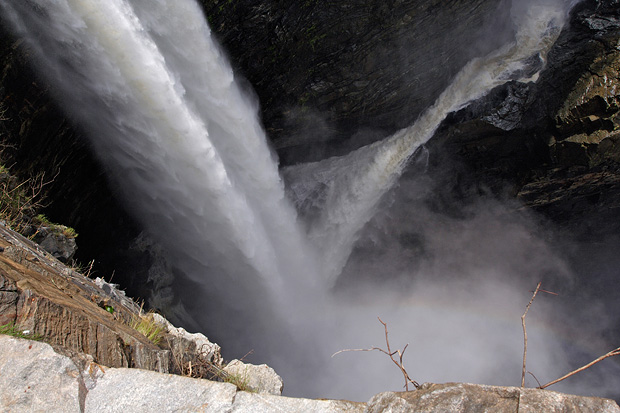
Point of view. More often than not we see a waterfall standing directly in front of it at a comfortable distance from the fall. If the terrain permits, walk around the fall and look for unusual angles. Few waterfalls get photographed from the top of the fall, but it makes a very interesting point of view. Also see if there is space to a side of the fall or almost immediately below the waterfall for taking pictures. Such angles give new perspectives of the fall that you would never have thought about.
This article appeared in December issue of Terrascape, a travel magazine for which I am an editorial consultant and also write a column on photography. Read all the earlier earlier travel photography articles on India Travel Blog.
Photographing in foggy weather needs an approach much different from shooting on a clear day. Details in the subject get masked in the mist, letting shapes and outlines take more importance than finer aspects. Since the light gets completely diffused in the fog, your subject tends to get uniformly lit from all sides, reducing the significance of the angle in which the light source is located.
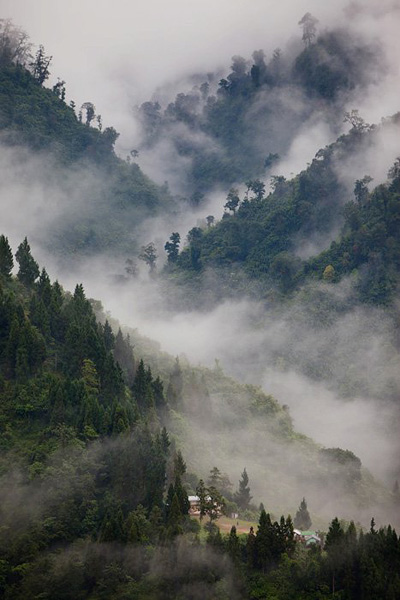
Go above the fog. The best way to shoot fog is by standing much above it. You can do this in mountainous regions where mist gathers in the valleys during early morning hours. Climb over a high peak that overlooks several ridges and valleys. If there is enough humidity in the atmosphere, there is a good chance that you will find fog settling down in the depressions, adding a drama to the landscape. Your chances of finding such fog are higher during the winter months, during the first two hours after sunrise.
Shapes, not details. On a foggy day, details and colours in your subjects are lost in the mist but the contours get emphasized. Look for interesting shapes to capture and ignore the finer aspects within. Some good subjects include arches and domes, a series of temple towers, tall trees standing parallel to each other, mountain ridges and repetitive patterns of any kind. Once again, attempt this during winter mornings.
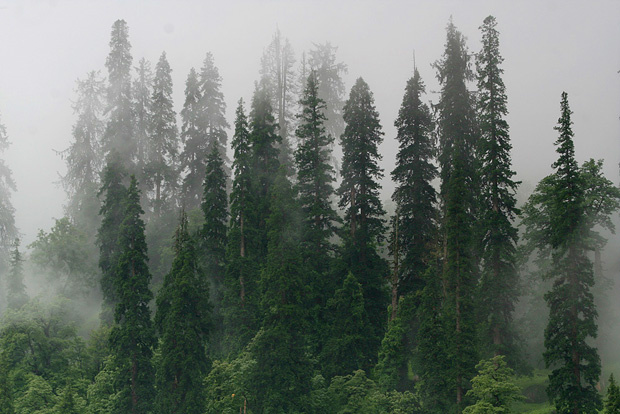
Capture light rays. Have you ever seen photographs with beautiful streaks of light making a landscape look glorious, and wondered how to photograph them? Your best bet is to wait for a mildly foggy day with an alternating sunny and foggy weather. Light rays passing through fog invariably create streaks of light. When you spot one, aim your camera with sun directly above you, keep the aperture of the camera small and take a picture. You are guaranteed to record your own shot of light streaks in the landscape.
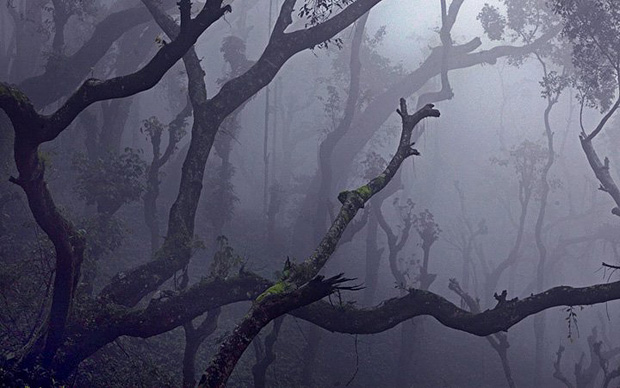
Aim at the sun. A foggy day is your best chance to take pictures that have sun in the frame. If you include sun in your frame on a normal day, all that gets recorded in the frame is a huge white area of the sky without any details. But on a foggy day, you can capture the evening sun in all his glory without worrying about poorly exposed picture. While you do that, ensure that you have more interesting elements in your frame: it could be anything from a sea shore or rocky cliffs to power lines or an urban expanse.
Prints of all the images available. Request for prints.


