Here is a quick primer for those who have never attempted wildlife photography, but considering it. A version of This article appeared in October issue of Terrascape, a travel magazine for which I am an editorial consultant and also write a column on photography. Read all the earlier earlier travel photography articles on India Travel Blog.
Ask any photographer and they will tell you that shooting wildlife is a different ballgame. Unlike other genres where you can go carefree and experiment a lot with your camera, photographing wildlife requires extra care and attention to ensure that you don’t disturb your subjects and follow certain behavioural ethics. If you are completely new to wilderness and do not have much information about the ecosystem and fauna of the place where you are planning to shoot, it is recommended to go along with an expert who understands them better. More than getting good images, it is important that you leave the subjects undisturbed. Shooting wildlife is a rewarding experience not just in terms of getting great shots, but also in observing the beautiful creations of nature in a natural setup.
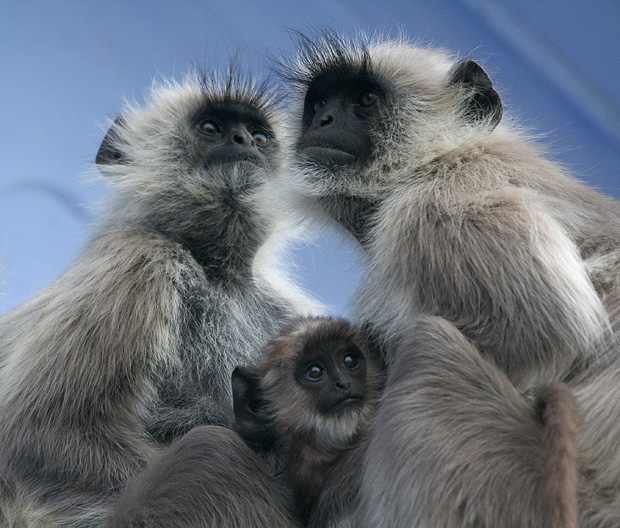
Study you subject. While it is useful to study your subjects in any genre of photography, it is a vital aspect of shooting wildlife. Photographing animals is not just about going to a place and start clicking, but also about understanding as much as possible about their behaviour and habitat. The more you study your subject and the more you know about them, you are likely to capture some fine moments of their life and come back with great pictures.
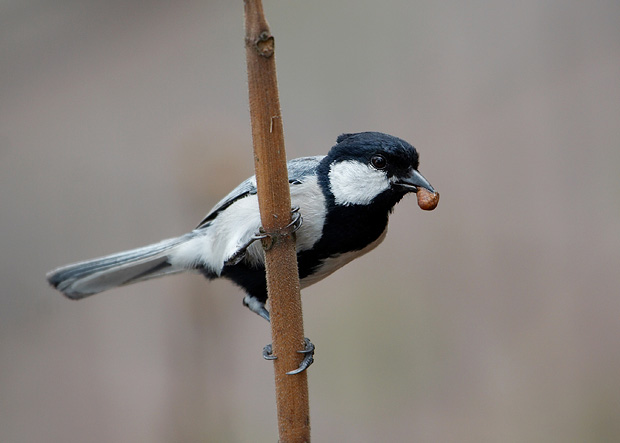
Wait for your shot. You will almost never get anything more than a portrait shot of your subject unless you are willing to spend a lot of time with them. Instead of running from place to place to see more variety, wait at one place and observe. If you are willing to watch your subjects for longer periods, you might be able to capture a lot of your subject’s behaviour. Always be ready with your camera aimed at the subject. Otherwise you may miss some great shots in fraction of a second.
Try your neighbourhood. Not every great wildlife shots have to be made in some exotic locations. Even your neighbourhood, your local park or the shrub jungle outside your city can offer a lot of photography opportunities. It should not be hard to spot a hundred different species of birds within 50km radius of your house. Of course, that doesn’t mean you should not head out often. Do visit the national parks as frequently as you can, which offer great opportunities to shoot a variety of wildlife.
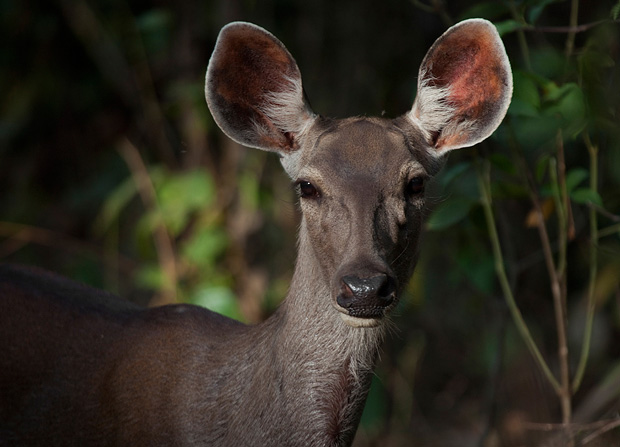
Get equipped. Unfortunately, good equipment is essential to be able to shoot wildlife seriously. You will do well with high quality telephoto lenses. Go for the best that you can afford. And remember: if you do not have the right equipment, do not try to compensate by getting too close to subjects or by trying to be daring with large animals. As I mentioned before, the important rule of photographing wildlife is not to disturb your subjects.
Prints of all the images available. Request for prints. Some images can be seen at a higher resolution on paintedstork facebook page.
A version of This article appeared in October issue of Terrascape, a travel magazine for which I am an editorial consultant and also write a column on photography. Read all the earlier earlier travel photography articles on India Travel Blog.
As the monsoons recede in October and make a way for winter, overcast skies are replaced by a clear blue expanse. The sky turns into deeper hues of red and orange during sunrise and sunset hours, adding a drama to the landscapes. Mild fog in the early morning hours hides the details of the landscape and highlights beautiful contours. This is the time of the year to see and photograph landscapes, especially mountain vistas.
Morning and Evening. The golden light of early morning is the best time to take pictures. The warm light makes the landscape look beautiful. Fog diffuses the light and adds a magical effect. A picture shot in the harsh afternoon sun can look dull and flat, but the same shot in the morning may look magical. If not in the morning, the next best time of the day is evening. Avoid the times when the sun is high.
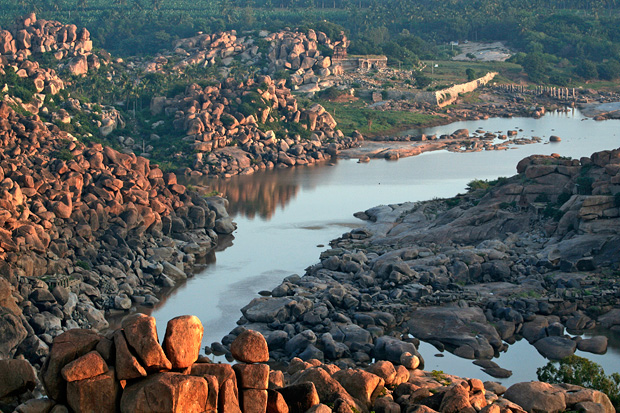
Include a foreground. Include a foreground element in your frame that offers a minor distraction from the main subject. For example, have some rocks in the foreground when you take picture of a lake. Include some flowers, plants or boulders in the foreground if the subject of the image is a mountain. The choice of foreground has to be made wisely and it must fill in just the amount frame not to distract the viewer from the main subject.
Remember the rule of thirds. For an image which has some sky and some earth, avoid composing with horizon in the center of the picture. If the sky has a lot of drama, allow it to take nearly two-thirds of the frame and let the earth take up a third of the space at the bottom. Do the reverse if the sky is uniform but there is a spectacular scenery on ground.
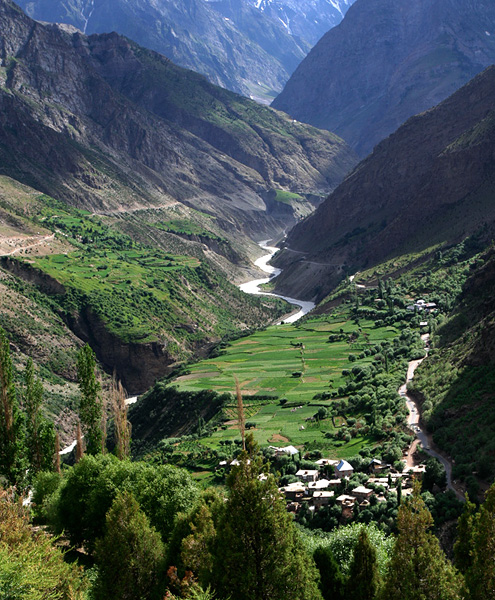
Find a vantage point. Standing on a plain surface often limits your views. Find a good vantage point that helps you see a wide vista. A higher position not only helps you get all the important elements of the landscape within the frame, it also gives you a completely different perspective than seeing things from below. Shooting hills and mountains from a height similar to your subject helps a great deal in emphasizing the scenery.
‘
Show the scale. Include some elements in the picture that depict scale. A picture of a hill will have an added drama with a man walking towards the top. A small boat somewhere in the picture can help in understand the expanse of a lake.
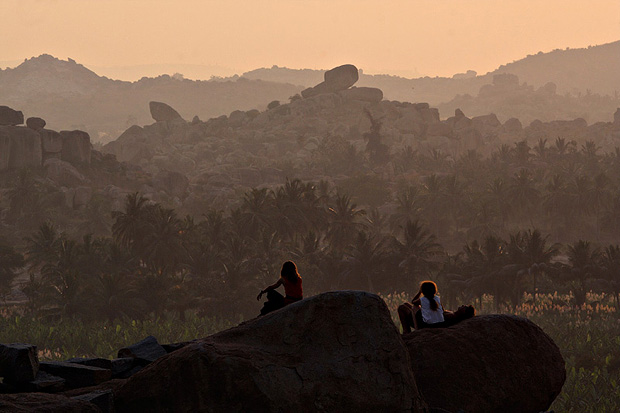
Technical aspects. This is for those of you who understand the basic camera controls that affect the image recorded. Use a small aperture to keep the whole frame in focus. An aperture f/11 or smaller is preferable. A sturdy tripod can make a lot of difference to the quality of the image.
Prints of all the images available. Request for prints.
This article appeared in September issue of Terrascape, a travel magazine for which I am an editorial consultant and also write a column on photography. Read all the earlier earlier travel photography articles on India Travel Blog.
Across the length of the country, we see so many cultures that have their own distinct identities. The way of life, festivals, celebrations and art forms vary from state to state, and many times from one corner of a state to other. This month’s photo tips tells you how to capture such performances and stage shows.
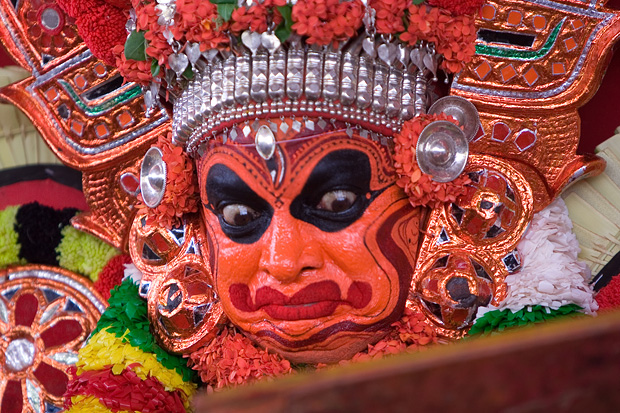
Capturing performances can pose several challenges to the photographer. Low light can be a major problem in stage shows if they are held in the night. Distance to the stage may not enable the photographer to get up close with the artists. When the performance happens in an open arena, finding a convenient place to shoot and make space among the crowds is a difficult proposition. The swift movement of the artists can add to the challenge in all occasions.
Stay alert. Alertness of the photographer is important in capturing the right moment. Often, there is little time to get your camera in position, compose and then shoot. It can so happen that by the time you aim and focus, the artist would have moved on to the next step, leaving you without a shot of that special moment. The way out is to stay ready all the time, with the viewfinder cupped to the eye. In many occasions when the steps are repetitive, use predictability of the artist’s movement to your advantage. Using a tripod can help in keeping the camera always aimed. However, also remember that you loose the flexibility to quickly change the framing when using a tripod.
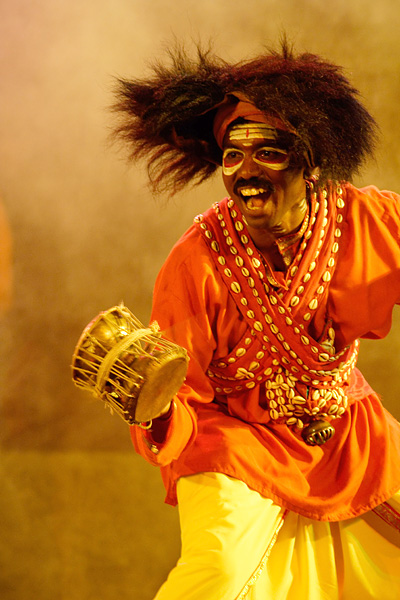
Get different perspectives. It is important to capture all possible perspectives of the show. A wide angle shot showing many artists and musicians spread across the stage gives the viewer an idea of what is happening. A close-up shot showing the elaborate make-up and facial expressions brings the subject alive and conveys the emotions involved to the viewer. Getting up close and focusing on the faces often helps make interesting images that showcases emotions like smile, laughter or even a crying performer.
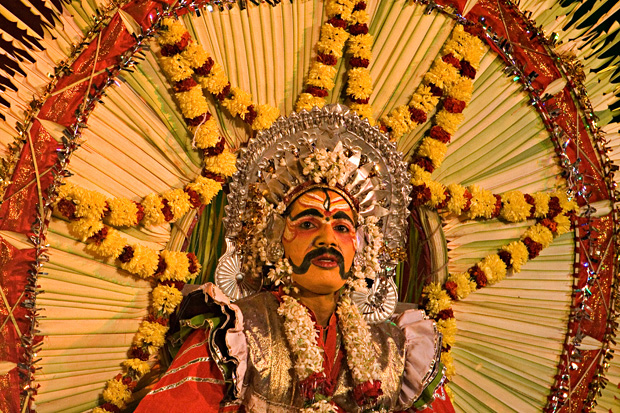
Go backstage. Action behind the scene can be as exciting as the performance itself. If you are permitted to do so, go and watch the artists getting ready, applying makeup and wearing the costumes. You are guaranteed to see a lot of activity that can interest the photographer. Ask permission before you enter, as not everyone would be comfortable getting photographed behind the stage.
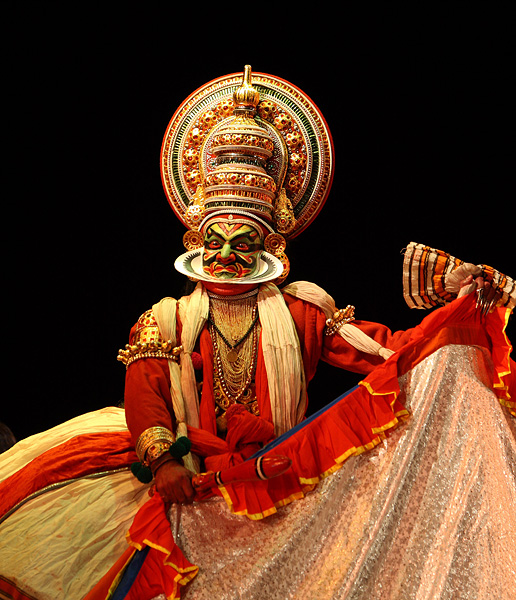
Using the right equipment. Unfortunately, some of these challenges in shooting stage shows can be overcome only with expensive equipment. Lenses with long focal length let’s you get close-ups even if you are not close to the stage. Professional photographers also use expensive lenses that can help make good images even in low light. Your camera’s capability to shoot in low light also plays an important role. Stage shows held in the night with limited amount of light can be shot well only if you have equipment that compensate for your hand’s vibration and have some inherent capability to record images in low light. If you can get them, use image stabilized fast telephoto lenses mounted on cameras that can deliver good quality at higher ISO.


