This travel photography article pretty much states the obvious. But I do believe that sometimes, stating the obvious helps us to be aware of things and apply when opportunity arises. Do let me know your take on it. Thanks!
This article appeared in April issue of Terrascape, a travel magazine for which I am an editorial consultant and also write a column on photography.
Because they are full of life and usually active, children make great subjects for photography. Their lively company makes the whole activity of photographing them a pleasure. Similar to any genre of photography, getting familiar with the subject, looking for the right composition and right moment play an important role in photographing children too.
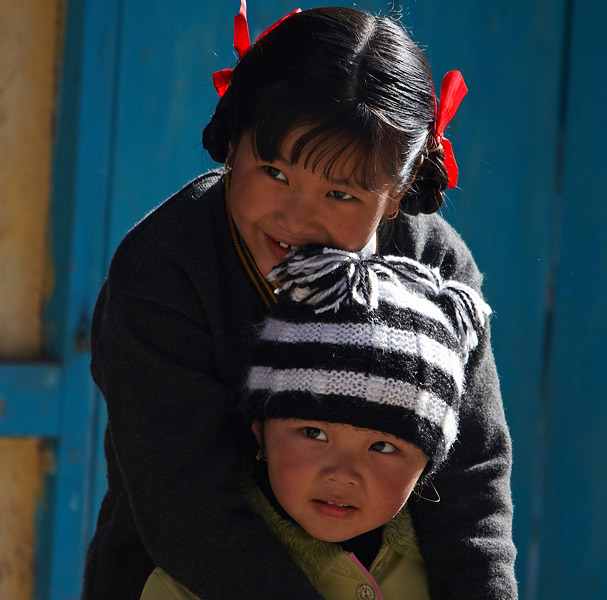 Make friends with kids. It is easier to shoot children whom you know well. It could be your own son, niece or a friend’s daughter. Familiar children make good learning subjects, since they are at ease with you. Even when you are shooting outside, it is important to talk to them and make them comfortable with you. Take plenty of trial images and make them get used to the camera. Eventually they will get used to the camera and continue doing whatever they were up to. When they stop being camera-conscious and remain natural, you are likely to get your best photographs.
Catch them in playing. Look for small group of children involved in a game. When they are playing, they are usually completely immersed in their game and are hardly bothered about anything else, allowing you capture their natural expressions. But make sure you are at a distance and your presence doesn’t disturb them.
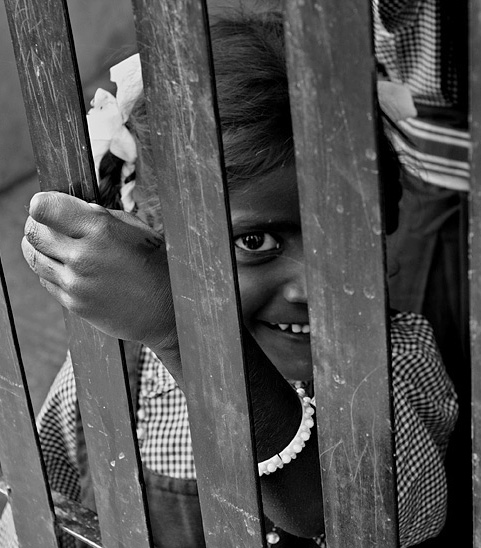
Catch them smiling. Children usually have a natural, qualm-free and photogenic smile, even when they have broken teeth. A smile or laughter without any inhibitions makes the photographs look very lively. Again, talk to them, amuse them and get them to smile. Show them their photographs on the LCD that could make them happy. Or catch them smiling when they are playing, when they see something interesting or when they are in a group of their own kind.
Wait for the right moment. Keep your camera ready and wait for the right moment, like a good smile (or even a frown), an intimate moment or an expression of curiosity that you can frequently see in a kid. When you do see it, it is important to be ready to shoot or you may miss the moment. Have your camera aimed and ready. Wait as long as it is necessary; take your time and never be in a hurry to get a picture. Best shots will take time and effort, but they are worth it.
—
+ Buy prints of these and other images of India Travel Blog
This article appeared in April issue of Terrascape, a travel magazine where I write a column on photography
They say a picture is worth a thousand words. When you put together a sequence of pictures, they effectively tell a story far more quickly and easily than what words can do. More often than not, we focus on the objects and expressions in front of us and not think about getting behind the scene. You may have bought good-looking pots from a potter’s shop several times, but have you ever thought of finding out how they make these pots? After you take pictures of beautiful pots at display, it would be worthwhile visiting their backyard and make images of a pile of mud slowly taking a definite shape. When you come back and put together a few good images from each part of the process—from kneading the clay to giving it a final shape—they can tell a story so effectively that you have need very few words to go with the images.
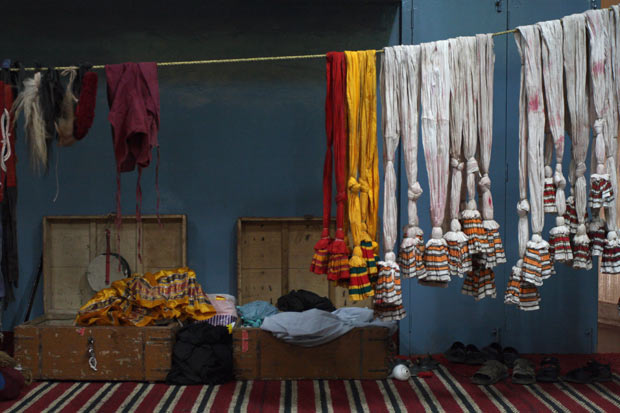
The costumes for a Kathakali show, unpacked for the night’s performance
Choose subjects that interest you. It is not easy to create a story on every topic. Choose a subject with which you can associate and enjoy spending time to understand and learn. Creating a photo sequence requires studying the subject and knowing it well to ensure that every aspect of the story is covered. So it is easier to work on a topic that naturally interests you.
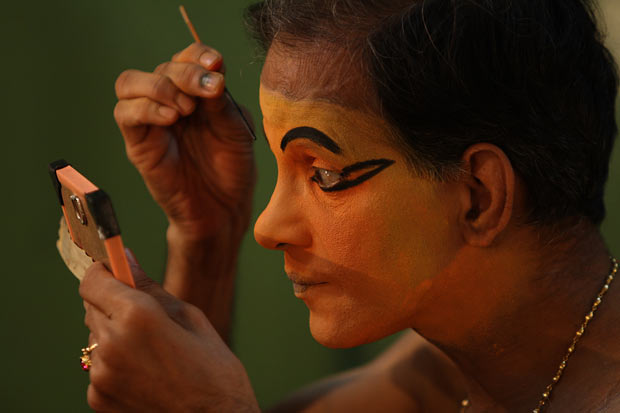
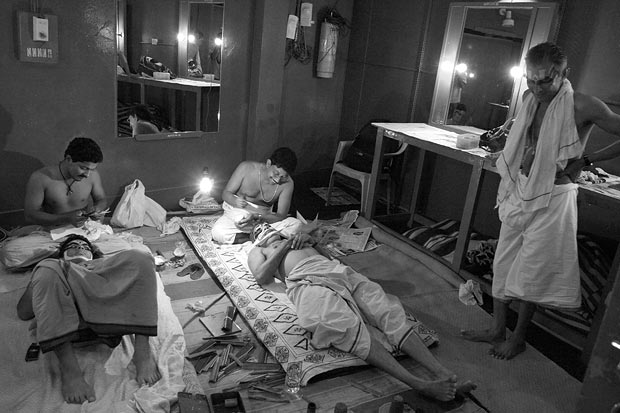
In the initial stages of getting ready, the artist applies make up on his own
Spend time with your subject. Start your work by leaving the camera at home! Take time to understand every aspect of the story you are about to capture. It helps to create a story in your mind before you are ready to shoot and tell your picture-story to everyone.
They are helped by make up artists in the next stage
Be trigger happy. Even with careful planning and study, it is never easy to conceive every image that will become a part of the final story. Keep clicking and never miss an opportunity to shoot every moment. Professional photographers often take hundreds of photographs to make a story in just half a dozen images.
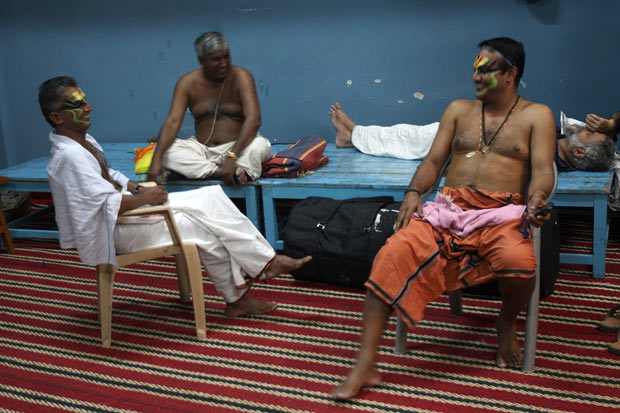
While some are being helped with their make-up, others relax as they await their turn
Not everything is a story. A sequence of related images may not always make a story. Putting together five good images of an animal, a monument or any such entity will not make a chronological sequence that speaks of itself. A surprisingly simple guideline helps here: a story is something that has a definite beginning and an end and a series of events in the middle that help achieve the end. Also see if the events have visually compelling aspects (like a potter turning the wheel) suitable for making a photo story.
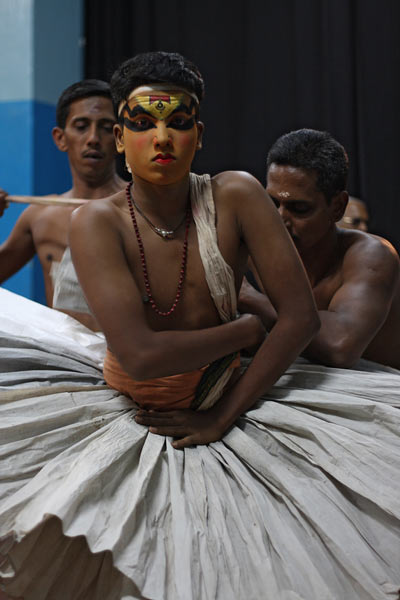
The costume
IMAGES
This image sequence was shot during a Kathakali performance. The images not just show the action on stage, but also depict all the work that happens behind the stage. The actors spend more than half a day to put on their make up and costumes, giving the photographer ample time to document the events before the show.
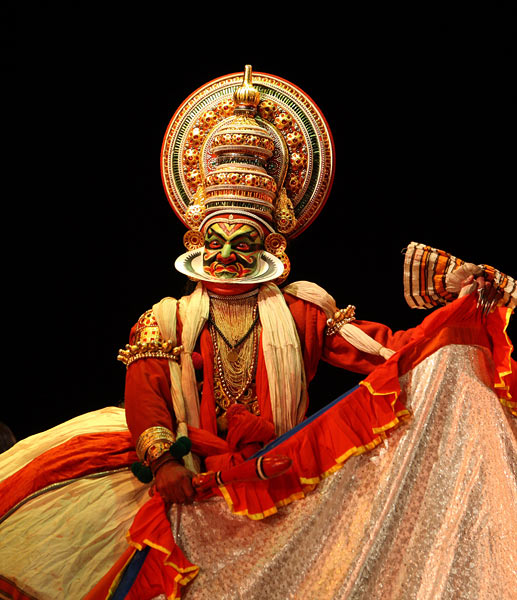
On stage.
A version of this article appeared in April issue of Terrascape, a travel magazine where I write a column on photography.
Whether you are taking pictures of a magnificent landscape, a large beautiful monument or scenes from every day life, a human element carefully included in the frame can make a great difference to the image. You would have seen photographs of gorgeous mountainous landscapes with just a silhouette of a man waving from the top of a hill or edge of a cliff. As your eyes move around the picture admiring the beautiful landscape, they eventually settle on the human figure that makes the viewer realize the scale and might of the scenery.
When you include a human factor in just the right part of the frame, it adds considerable value to the photograph. Listed here are some tips of how to do it.
Find a strategic location to place a person. Don’t make it an obvious image of someone posing in front of the camera with the subject behind the person. For example, it would be worthwhile having someone walking away in the last bend when you are photographing a winding road. Get someone colourfully dressed to look out from the middle floor of a tall monument. Get the picture of someone climbing halfway up or standing on the summit of a tall hill.
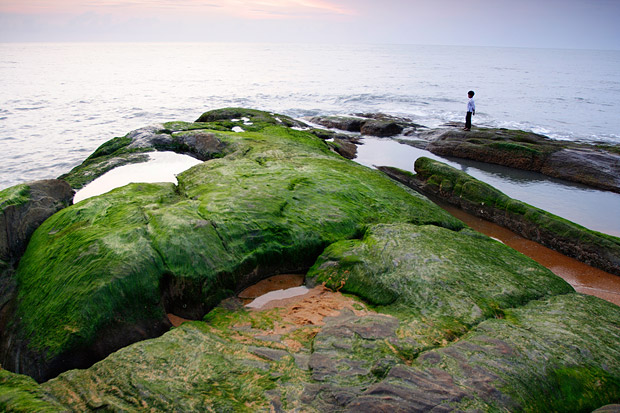
Allocate only a small part of the frame. This helps the viewer to understand the scale and significance of the object against the person in the image. Allocating anything more than 10% of the frame to a person makes the human element dominate much more than the scenery and spoils the effect. It is best if the person is small enough not to be recognized easily.
Show some activity. It helps to have a person performing a task that blends with the environment. A climber is best shown trying to make his way up with all the necessary gear tied to his body. The picture of the Ghats of Varanasi shown here with someone sweeping the steps blends well with the atmosphere than having someone standing idle.
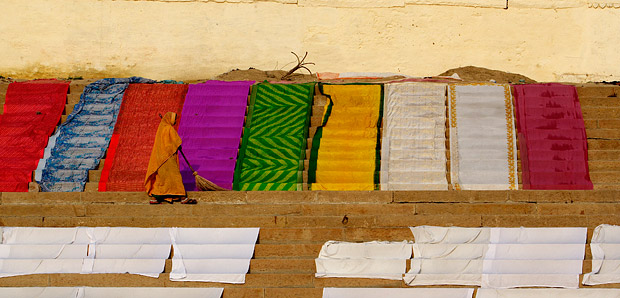
Show contrast in the image. Some one wearing a red coloured dress is likely to stand out well in a snowy landscape. A white dress will do excellent job in an expanse of sand dunes.
Position your subject off-center. It is more pleasing to the eye to have your subject slightly away from the center. Use the popular rule of thirds: if you slice the frame into three parts horizontally and vertically by drawing two horizontal and vertical lines each, the four intersections of the lines provide ideal position in the frame to place your subject.
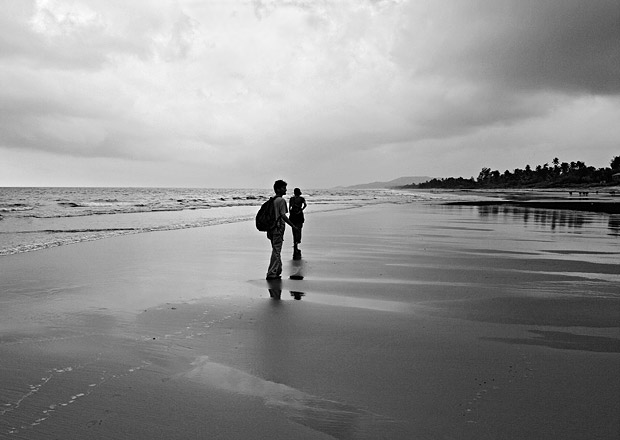
Go black and white. Black and white images work best when there is a lot of contrast, such as an occasion when there is a variation of light and shadows in a frame. Black and white comes to the rescue in times like mid-day or cloudy skies when colours tend to get rendered washed out. The high contrast between sky and the ground and the gentle lines leading out of the subjects made the picture below a perfect candidate for black and white conversion.
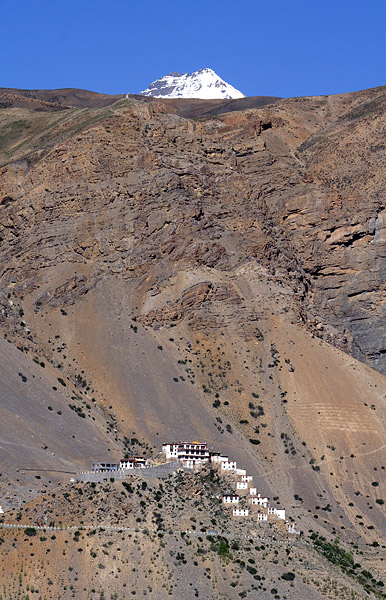
It doesn’t have to be people. The human element doesn’t have to mean people all the time. A building in the middle of the mountain, a ship in the sea, a colourful house in a vast meadow or such structures that provide a sudden distraction in a natural setup can also have a great impact on the viewer.
 Make friends with kids. It is easier to shoot children whom you know well. It could be your own son, niece or a friend’s daughter. Familiar children make good learning subjects, since they are at ease with you. Even when you are shooting outside, it is important to talk to them and make them comfortable with you. Take plenty of trial images and make them get used to the camera. Eventually they will get used to the camera and continue doing whatever they were up to. When they stop being camera-conscious and remain natural, you are likely to get your best photographs.


